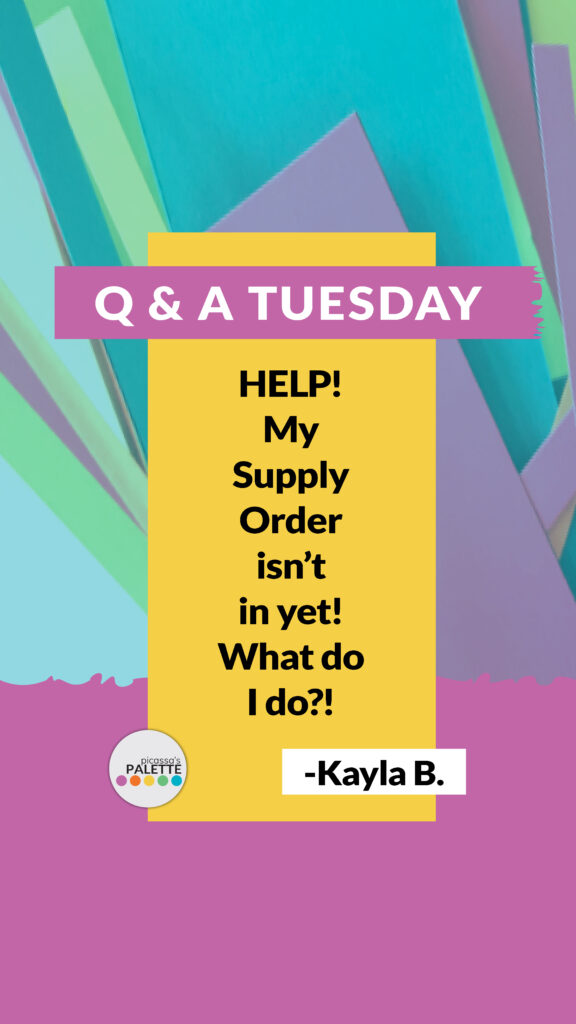
What do you do when your Supply Order hasn’t arrived? Here are some ideas…

Been there! I’ve spent a time panicking (in one of my early years of teaching) but I have some better- and more productive ideas I’d like to share to save you the stress of worrying about something that’s out of your control. All Art teachers know the importance of having the right supplies on hand, but sometimes, despite our best efforts, supply orders just get delayed. When that happens, we do what we’re great at doing- we pivot- and create our backup plan.
I’ve gathered a list of some creative and engaging activities to keep your art students inspired and productive even when you’re waiting for supplies.
What Activities Can I Do with My Art Students When My Supply Order Hasn’t Arrived Yet?
Some Ideas…
1. Use “No Supply” Style Art Activities
“No supply” activities are perfect for these situations. These activities rely on imagination and creativity rather than physical materials. Some ideas include:
- Gesture Drawing: Use quick, timed sketches to capture the essence of a subject. This can be done with just a pencil and paper.
- Mind Mapping: Have students create mind maps based on art themes, concepts, or emotions. This helps with building brainstorming skills and idea generation. Let them draw or write in the associated words.
- Storyboarding: Ask students to create a storyboard for a short film or animation. This exercise helps develop narrative skills and visual planning. TIP: Have them write, “First ____, Next ____, Then ____, and Last ____” to guide them.
2. Mini-Sketchbooks
Keep a stash of itty-bitty stapled copy-paper ‘sketchbooks’ that students can use at the beginning of class. These workbooks can be used for a variety of exercises that stimulate creativity and get students into the right mindset for creating art. Examples of workbook activities include:
- Doodle Challenges: Provide verbal or board-written prompts that encourage students to fill a page with doodles.
- Pattern Creation: Have students create complex patterns using simple shapes.
- Color Theory Exercises: If you have primary color crayons, markers or pens – include tasks that explore color mixing and the relationships between colors.
3. Intro Activities
If you have specific lesson-opener activities designed, make sure to have them easily accessible. These can be exercises that prepare students for the main lesson or simply keep them engaged while you set up. Some examples are:
- Shape Transformation: Start with a basic shape and challenge students to turn it into something unexpected.
- Quick Contour Drawing: Have students draw the contour of objects without lifting their pencil from the paper.
- Texture Exploration: Encourage students to create different textures using whatever tools are available.
Link to Warm-Up Activities Product
“How to Use Warm-Up Activities” Blog Post:
Here’s a post that describes how I use them in my classroom.
4. Use Up Extras
This is a great time to use up any leftover supplies from previous projects. Gather any extra paper, fabric scraps, old paints, and other materials. Here are some ideas:
- Mixed Media Collages: Have students combine different materials to create unique collages.
- Upcycled Art: Encourage students to use recyclable materials to create art pieces.
- Group Mural: Let students work together on a large mural using leftover paints and paper.
5. Use What’s Already On Hand
Look around your classroom and see what supplies you already have. Even basic materials can be used in creative ways. For example:
- Paper Sculptures: Use any available paper – such as newspaper, construction paper scraps, or even copy paper strips – to create 3D sculptures.
- Pencil Drawing Prompts: Give students various prompts to draw using the supplies they have on hand. I once had them do this with some old post-it notes that have lost their stickiness!
- Classroom Objects: Challenge students to create art using everyday classroom objects as their medium. They can even form their artwork working with the other students sitting at their ‘table groups’.
6. Have Magazines and Some Glue?
Magazines and glue can be turned into fun and engaging art activities. Here are a couple of ideas:
- “Finish the Pic” Magazine Cutout: Pre-cut images from magazines and glue them onto paper. Let students choose a piece and complete the picture using their imagination.
- Abstract Prompts: Use the cutouts from magazine pages to inspire abstract artwork. Have students arrange pieces into abstract art and then draw around or paint over the parts to complete their compositions.
7. Give Them A Challenge!
Here’s an Art-Creation Challenge that your students can work on for their FIRST DAY in your ART classroom. For this challenge, each student creates a finished piece of artwork using available materials and supplies.
The best part? It’s FREE!
Grab It Here!
…So, Don’t Stress, Art Teacher!
By having these activities ready, you’ll be prepared to keep your art students engaged and learning, even when the supply order hasn’t arrived. As long as you keep it fun, they never truly know that your lessons aren’t the ones you’d originally planned… and typically can’t tell the difference between the originals versus the backups!
Remember, the key is to stay flexible and make the most of what you have. 🙂
Happy teaching!